As you prepare to walk down the aisle, every aspect of your bridal beauty regimen deserves meticulous attention — including your tan. We suggest you ditch the salon treatments and sunbeds (God forbid!) and opt for a flawless, sun-kissed glow from the comfort of your home with some self-tan. With the right products and techniques, you can achieve a luminous complexion that enhances your skin rather than detracts from it. So, here’s everything you need to know about self-tanning for your wedding.
Choose the Correct Depth
When choosing the perfect shade for your wedding day tan, think beyond“one size fits all”. Consider your skin tone, undertones, and the desired level of radiance. Fair-skinned brides should aim for a subtle, golden glow that enhances their natural complexion without veering into tangerine territory. Those with medium and olive-toned skin tones should opt for warmer shades that impart a sun-kissed glow. Deep skin tones, meanwhile, should ideally embrace richer, deeper shades for a more intense tan.
Formula Function
Self-tanners come in different shapes, sizes, and formulas. Choosing the right tan formula for your skin can seem daunting, from oil and mist to cream and foam.
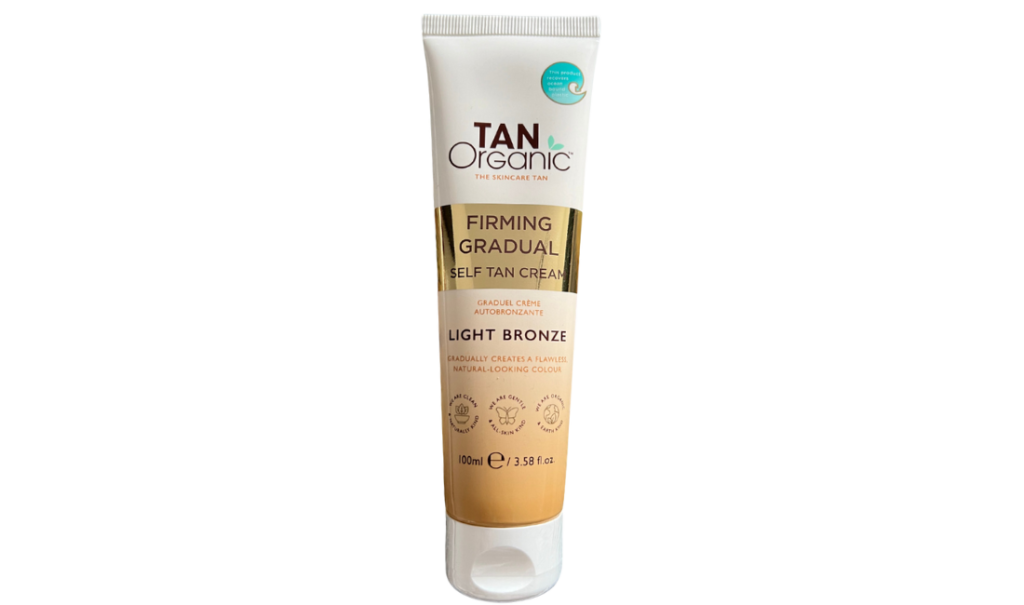
- Gradual self-tanning lotions are the OG self-tanners. Most of them look and feel like creamy daily moisturizers but have a small amount of DHA to give you a subtle glow over time. These are a great way to ease yourself into the world of tanning without too much of a shock to the system.
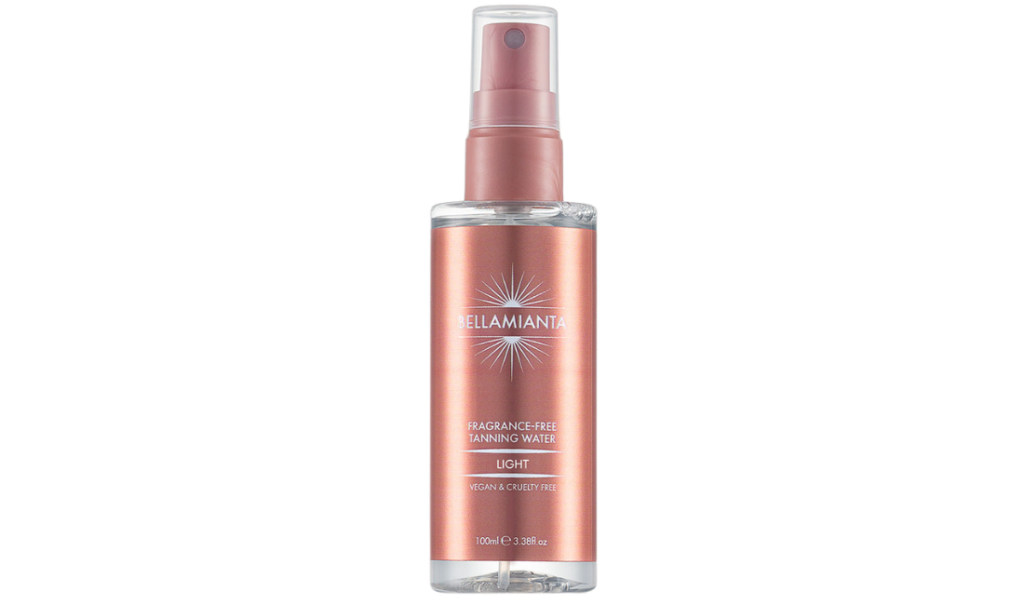
- Tanning waters are one of the newest self-tanning formulations on the market, and while you also spray tanning waters on to apply, the difference is in the actual formula. As the name suggests, water is a liquid that goes on clear and typically comes out of the bottle as a lightweight, fine mist.
- Mousses, or tanning foams, can come as clear solutions or with colour guides and offer a wide range of shades. The foamy-textured formulas give arguably the deepest, darkest tans out of all the different types of self-tanners, so if that’s your vibe, then mousses are the way to go.
Prep Like a Pro
Preparation is the secret weapon in your quest for the perfect tan. It’s not just about the tanning product but also about the canvas it’s applied on. Start by exfoliating your skin to remove dead cells and create a smooth base for the tanning product. Focus on rough areas like elbows, knees, and ankles to ensure an even application. Shave or wax at least 24 hours before tanning to allow the skin to settle and minimise any potential irritation. Hydrate your skin with a lightweight moisturiser to prevent dry patches and ensure optimal absorption of the self-tanner. Trust me when I tell you that this extra step will make all the difference in achieving a flawless finish.
Time to Apply
Armed with a tanning mitt, start from the bottom up, working in gentle, circular motions to ensure even coverage. Pay special attention to areas prone to dryness, such as elbows, knees, and ankles, and blend with care to avoid any tell-tale streaks or blotches. Remember, this is a process; taking your time will ensure no spot is left untouched. Remember, for those hard-to-reach areas — two sets of hands are better than one!
A Glowing Visage
Self-tanning your face requires a slightly different approach than your body. Here’s a step-by-step guide to help you out: start by exfoliating your face with a gentle scrub to create a smooth, even surface. Avoid using harsh exfoliants or scrubs that can irritate your skin. Opt for a self-tanning product formulated for facial use to avoid clogged pores and breakouts. Alternatively, a gradual tanner or bronzing serum that can be added to your current facial moisturiser is a good option for self-tanning your face. Be cautious when self-tanning your face, as it tends to develop darker than the rest of your body due to a higher pH level in the facial area. Apply the product in thin layers and blend it thoroughly around your hairline and jawline to avoid harsh lines.
Hands & Feet
Hands and feet are notorious troublemakers when it comes to self-tanning, but fear not; we’ve got you covered. Mix a small amount of moisturiser with your self-tanner to create a custom blend for these tricky areas. Apply with precision, focussing on blending seamlessly around your fingers and toes. Use a make-up brush to soften harsh lines or edges for a natural-looking finish. Take your time and pay attention to the details. Finally, don’t forget to use a damp cloth to remove any excess that may have found its way onto your palms and around the cuticle areas.
Maintaining Your Glow
After achieving the perfect tan, it’s important to maintain it. Allow your tan to dry completely before getting dressed to avoid unwanted smudges or stains. Refrain from sweating or getting wet for at least 6–8 hours to allow the tan to develop fully. Keep your skin hydrated with regular moisturising to prolong the lifespan of your tan and prevent any patchiness. Gentle exfoliation every few days will help maintain an even fade, ensuring your bridal glow remains picture-perfect throughout your wedding celebrations and beyond.
- Kellie Billings


